Did you want to get intimate with a dead chicken today? Oh, ok.
ROAST CHICKEN – impress friends, lovers, countrymen. Win affections, sow favors, get laid, throw it at the president. I don’t care what you do with this thing, but maybe eating it is a good idea.
This thing is much easier to make than it looks, so if you’re already thinking “I am not worthy of greatness”, then please take a deep breath, assume a power stance, and be a confident, independent soul.
Roast Chicken with Herbs, Potatoes, Fennel, Carrots, and Onions
- 1 roasting chicken (4-6 pounds)
- 4 tablespoons (1/2 stick) unsalted butter, softened
- 2 tablespoons minced plus one small bunch fresh rosemary
- 2 tablespoons minced fresh thyme
- 3 cloves garlic, minced
- Kosher salt
- Freshly ground black pepper
- 1 lemon, halved
- 1 head garlic, cut in half crosswise
- 1 large yellow onion, thickly sliced
- 4 carrots cut into 2-inch chunks
- 1 bulb of fennel, tops removed, and cut into wedges
- 1 1/2 pounds potatoes
- Olive oil
- Splash of white wine
- Allow the chicken to rest at room temperature for 30 to 60 minutes.
- Preheat the oven to 425 degrees F.
- Roughly dice the carrots, potatoes, fennel, and onion. Toss in the roasting pan with olive oil, salt and pepper. Spread around the bottom of the roasting pan.
**Before getting started with the chicken, get everything ready, including pan, veggies, paper towels and twine, so you don’t have to touch anything while your hands are covered with chicken
- In a small bowl or mini prep, mix together the butter with the rosemary, thyme, garlic, salt, and pepper.
- Remove the chicken giblets. Remove any excess fat and leftover pin feathers and pat the outside dry (make sure it’s dry!). Liberally salt and pepper the inside of the chicken.
- Stuff the cavity with the bunch of thyme, the bunch of rosemary, both halves of lemon, and all the garlic. Rub the chicken all over with 3 tablespoons of the herbed butter. Slide some of the butter underneath the breast skin.
- Tie the chicken legs together with kitchen string and tuck wing tips under the body of the chicken. Sprinkle again with salt and pepper. Place the prepared chicken directly on top of the veggies in the roasting pan, breast-side up, and place in the oven at 425 degrees F for 15 minutes.
- After 15 minutes of roasting time, remove the chicken from the oven to brush on the remaining herbed butter, and to add the splash of white wine to the veggies in the hot pan.
- Return the chicken to the oven and roast for an additional 1 hour and 15 minutes. Chicken is done when the juices run clear when you cut between a leg and thigh, or when a meat thermometer inserted into the thickest part of the breast reads 165 degrees F. Remove the chicken and vegetables to a platter and cover with aluminum foil for about 20 minutes. Slice the chicken onto a platter and serve it with the vegetables. Or don’t, I’m not your mother.
THE RUNDOWN:
A word on chickens:
At the store, you may find chickens labelled “fryer”, “roaster”, “broiler”, or some other creative name. This just refers to the age and size of the chicken:
- Fryers – 6-8 weeks, 2.5-3.5 lbs
- Broilers – 6-8 weeks, ~2.5 lbs
- Roasters – Less than 8 months, 3.5-5 lbs
Sometimes, I’ve found chickens that are 6 pounds and labelled as a fryer – really, each of these chickens is fine to roast, so just find one that’s the right weight and you’re good to go. Just don’t use chickens with other names, such as “capon” or “stewing chicken” – these birds are often of different quality, better suited for other cooking ventures.
1. Rest chicken at room temperature for an hour.
Whoa! Did I freak you out by not posting all the ingredients first? You’ll get over it. Anyway, the chicken needs to come to room temperature, so plan ahead to let it sit before you get anything started. It wouldn’t be a bad idea to let the butter sit out as well, although you can always microwave it to get it soft when you need it.
2. Gather ingredients.

Lots of awesome vegetables in this one, plus a bunch of herbs and garlic to make everything super tasty. Plus wine. Wiiiiiineeeeeee! I just used some leftover sauvignon blanc in my fridge – dunno what the best kind to use here would be, but then again I know nothing about wine.
3. Prep vegetables.
While the chicken is resting, you can do all of your prep work, so grab those vegetables. Preheat the oven to 425 degrees Farenhizzle.
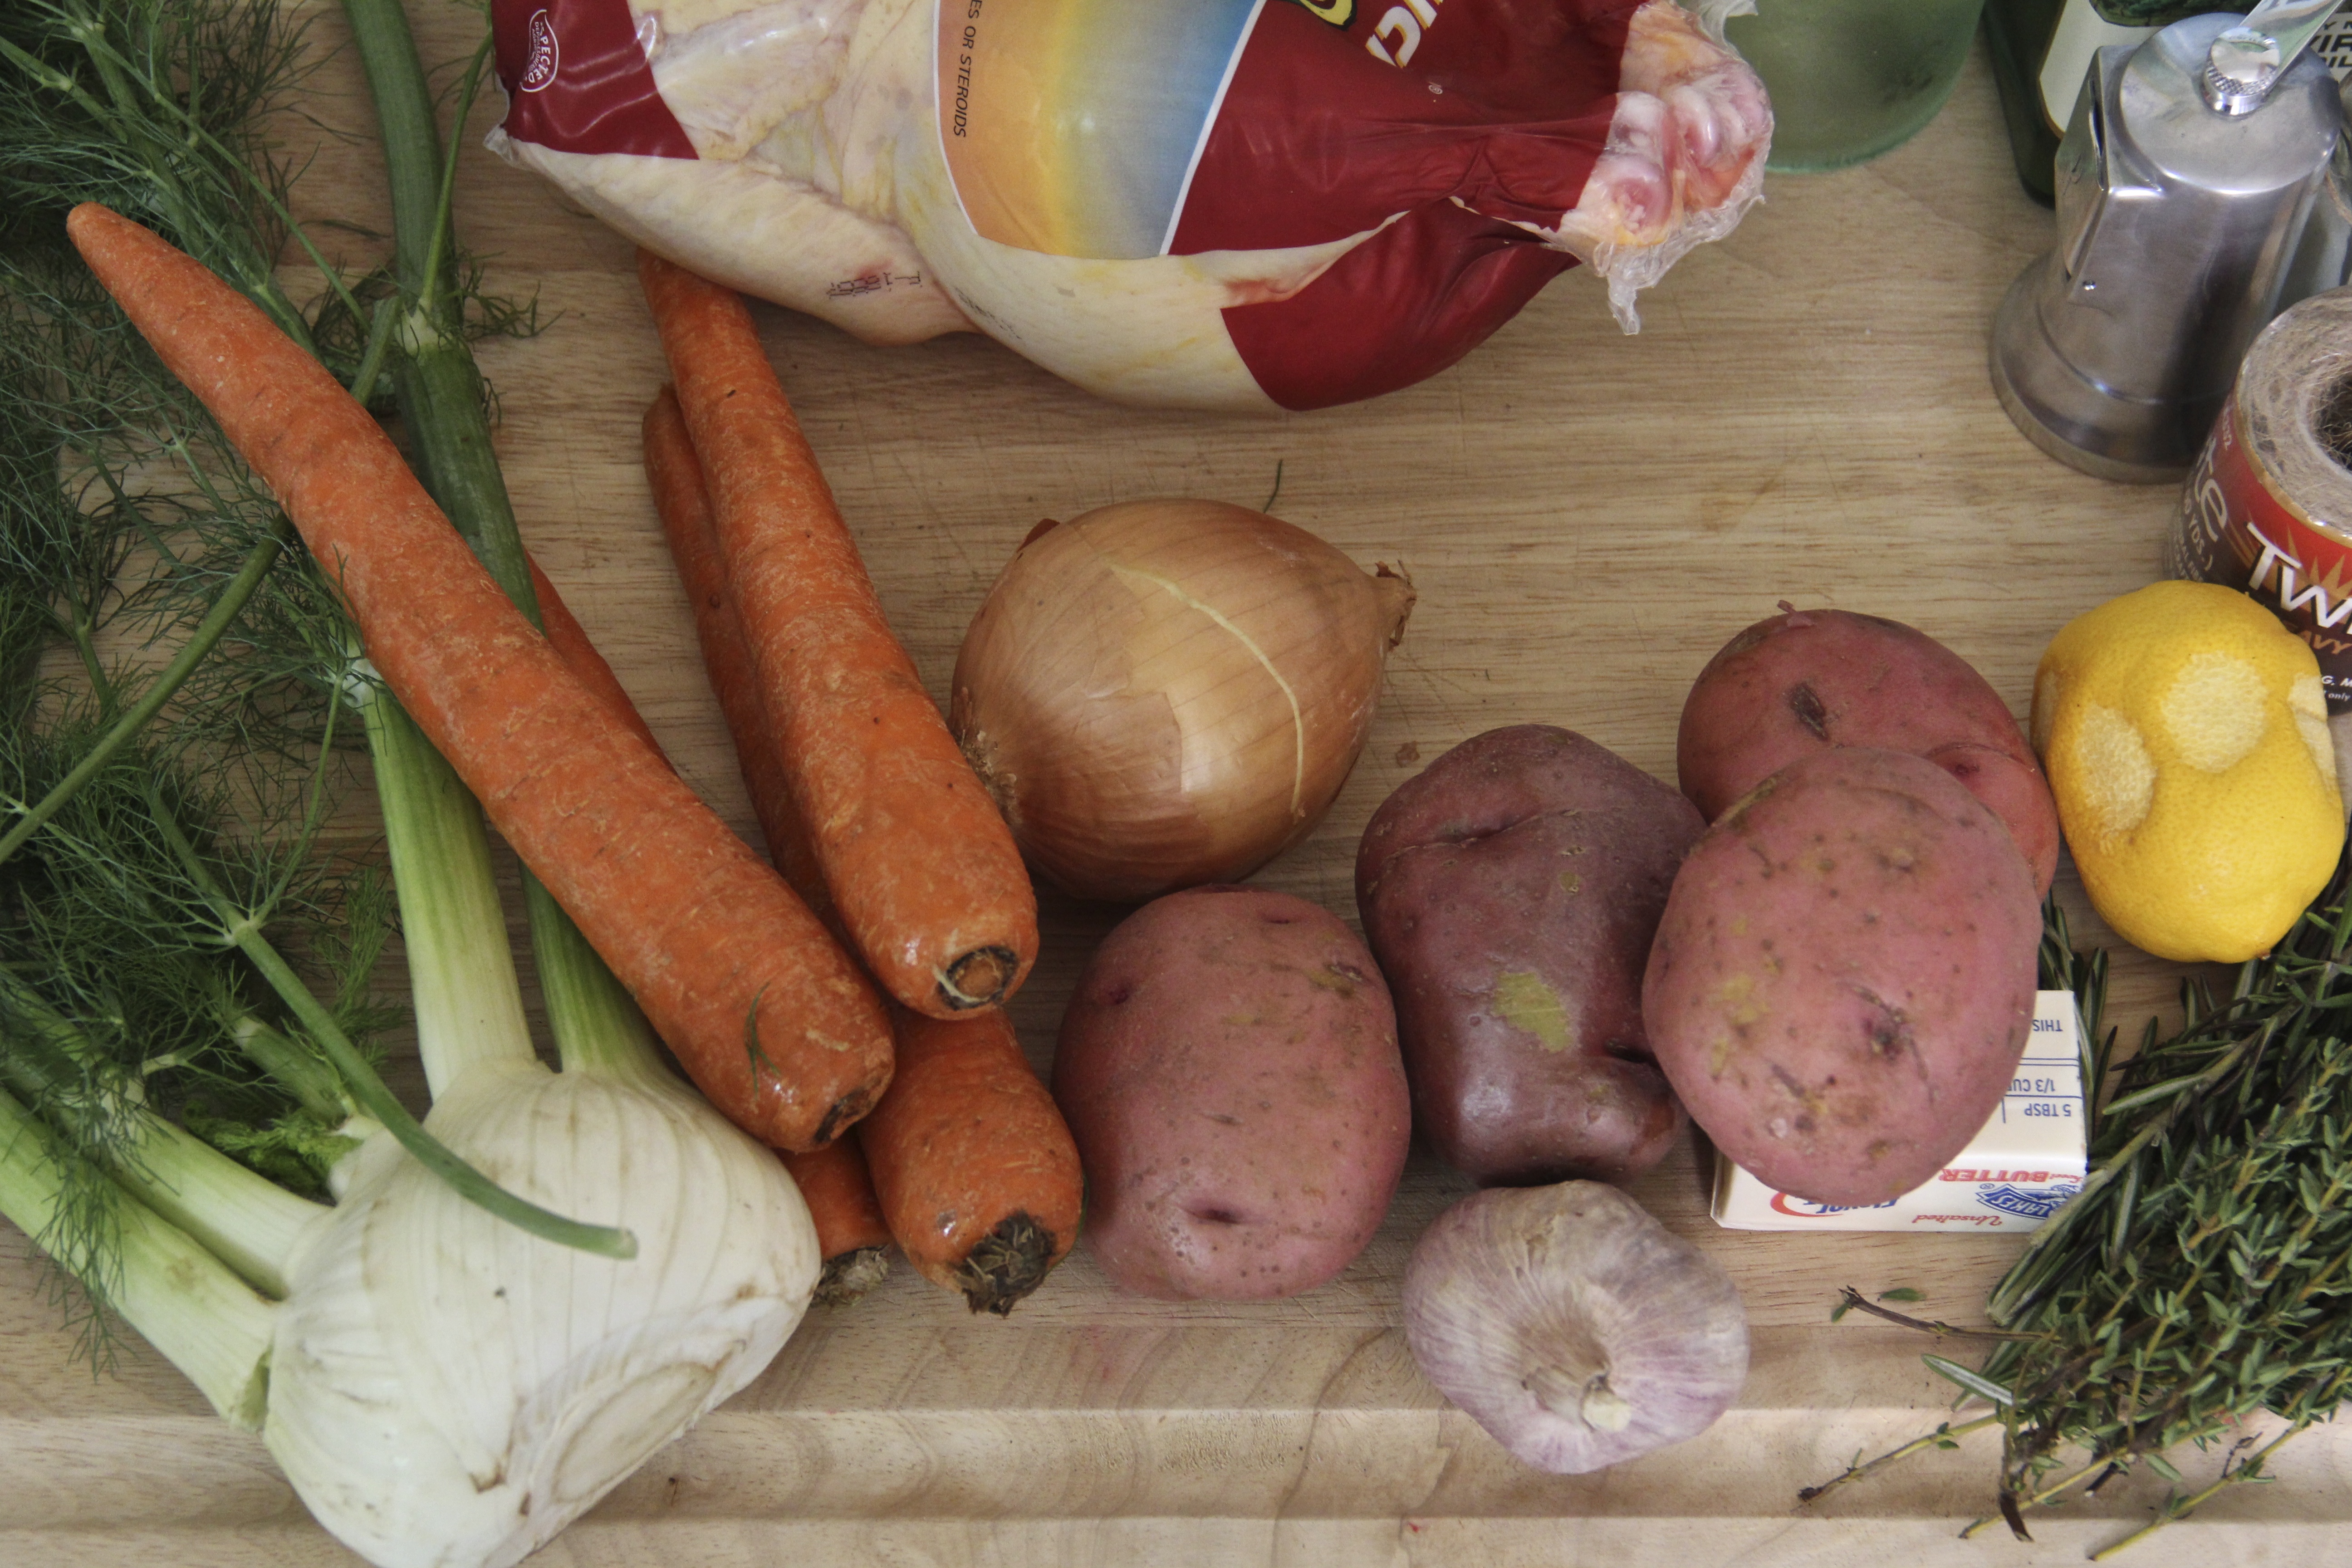
That weird thing on the left is fennel, which I have sometimes found incorrectly labelled as “anise” at grocery stores. Anise tastes similar – sort of licorice-y – but it’s a totally different plant. If the thought of licorice flavor is off-putting to you, rest assured that I fucking hate black licorice, but fennel is nice, crunchy, and subtle, so give it a chance!
Peel and dice the potatoes and carrots into bite-sized pieces, throwing everything into the roasting pan as you go. Don’t dice too small, because everything will roast for a long time and might overcook otherwise. Peel the onion and quickly cut it in half, into quarters, and then into sixteenths. Oh look, that took 10 seconds. Yay!
Now, back to the fennel; how the fuck do you prep this weird-ass monster vegetable? First, remove the fronds (the little green leafy bits that look like dill), leaving only the bulb and main stalks. In all honestly, I hate wasting food so I used the stalks in this instance, but I didn’t much like their texture once roasted. Feel free to omit and just use the fennel bulb, which is less fibrous. If you do that, don’t bother removing the fronds and just slice off the stalks.

Slice the bulb in half, and dice the stalks if you’re using them.

You may notice in the above photo that the fennel has a core – this is easily removed with a knife. Just cut around it on all sides, going about 1/2 an inch deep into the fennel, and then sort of slide your knife behind the core, popping it out.

Dice the fennel similarly to the onion, and throw it in the pan with the other vegetables. Toss with olive oil, salt, and pepper.

This picture was hard as balls to take.
You will notice I used a cast iron skillet instead of a roasting pan. Whatever floats your boat.
4. Make the herb butter.
Awwwwwww yeeeeee. This is the star of the dish. I mean, the chicken is, but this is like… I don’t know. It’s important. It’s butter!! You’re going to rub it all over the chicken and then as it cooks, it’ll drip onto the vegetables and make everyone joyous. Stick the soft butter in a bowl, and remove the herb leaves from the woody stems (especially the rosemary). Finely chop the rosemary and thyme, and add it to the butter. Singe a little bit of “Scarborough Fair”, as one does when handling these herbs.

Chop the garlic. I don’t have a garlic press, and I feel that in this case having finely chopped garlic is important, so here’s how I do it: peel the garlic by hitting it with the flat side of the knife (lay the knife flat on the clove and hit it with the heel of your hand).


Then, being very careful not to cut the shit out of your hand, lay the flat side of the knife on each clove, one at a time. Firmly crush each clove several times by hitting it with the heel of your hand, trying to prevent garlic chunks from flying everywhere. You want the garlic to become super flat and crushed, making it easier to finely dice, like in the picture below. Do this for all the cloves, put the garlic in a pile, and dice.


Throw garlic into the bowl with the butter and herbs. Add a pinch of salt and a healthy amount of pepper.

Mix.

You’re welcome, earth.
5. Get ready to prep the chicken.
This primarily involves getting all the stuff together and making it accessible. Once your hands are coated in raw chicken, you’re really not going to want to run around the kitchen getting everything dirty trying to find twine. Put salt and pepper together in a bowl, so you can just grab what you need. Slice the lemon and the head of garlic in half (yes, the WHOLE head. Trust.). Pre-cut a little more than a foot of twine – you want it to be easy to tie. Yes, I’m using twine from my tool box. I don’t fucking have kitchen twine. Honey Badger don’t care. Ignore the red in the photo – I was also making beet salad, but that’s another story for another time. The point is, I didn’t murder anyone… that day.
In addition to the foodstuffs, you want some paper towel sheets torn from the roll, and the trashcan to be out with no lid on it.

6. Actually prep the chicken.
As my hands were immediately covered in chicken during this portion, I have no photos. Let me break it down for you.
- Make sure nothing is in your sink (dishes, babies, etc).
- Put the chicken in the sink, and remove the bag it’s in. There will be some chicken juice in there, which is why I do this in the sink. Throw the bag in the trash.
- I don’t usually find much to trim from the bird, but there is sometimes a bit of fat near the cavity – I just trim it off with a knife.
- Get ready to get intimate with this bird, ok? Reach your hand up into the cavity. There will be some extra bits in there, such as the neck, heart, and giblets. Sometimes these are in a bag, sometimes they’re just loose in there. These are included in case you want to make gravy, which we aren’t doing. Throw them away or make an art project about the fragility of life.
- Although many places will tell you to rinse the chicken, this is not necessary. All this does is spread chicken water all over the place. Instead, just remove the chicken from the sink and place it into the roasting pan, right over the vegetables. Use the paper towels to pat it down, outside and inside the cavity. Get in all the crevices, next to the wings and legs, etc. This step is key to having delicious crispy chicken skin, so be thorough.
- Use the salt and pepper to thoroughly season the cavity of the chicken. Yes. Get in there. You were already wrist-deep in that animal, now is no time to be shy.
- Stuff the bird: shove both lemon halves, both garlic halves, and the remaining herbs up in there. SHOVE. IT. IN.
- Rub the bird: take about 3 tbs of the herb butter, and use your hands to rub it all over the outside. Don’t forget the bottom! The chicken will be breast up when roasting, but you want the herb butter errrywhurrrr. Gently slip some under the breast skin. This will feel and look strange, but you must. You must!
- Tie the bird: turn the bird so that it’s breast-up. Tie the legs together, which will help keep the cavity closed during cooking. Cut off the extra twine when your hands are clean.
- Sprinkle with a last bit of salt and pepper. Attempt in vain to tuck in the wings so the tips don’t stick out – I’ve never gotten this to work.

7. Roast that bird.
Roast at 425 for 15 minutes. Remove and brush with the remaining butter – I like to melt it in the microwave to make this a bit easier. Add the splash of wine into the bottom of the pan. Add the rest of the wine to your face, because you’re worth it.
Put the chicken back in the oven and roast for another hour or hour and fifteen minutes – I like to check at the hour mark. This is where a meat thermometer comes in handy – just stick it into the breast meat, and when it’s at 165 degrees F, you’re all set and the chicken is perfectly cooked. Remove and let it sit under some foil for 10-15 minutes, which prevents it from getting dry when you cut it. This also makes your guests smell your chicken for additional minutes, giving them some time to think about how handsome you are.
Slice that shit and eat it! The pan jus is really delicious over top of everything. Great with a crusty baguette. If you don’t know how to carve a chicken, google it and watch some videos – the chicken deserves your respect, you jerk.

That whooshing sound is from the underpants of your fervent admirers flying at your face.

lololol “art project about the fragility of life”
LikeLike
I’d like to firmly crush your clove several times, know what I mean?
LikeLike
Pingback: Thai Chicken Soup, Soup-a Doop | emma talks about food